Automated Plant Watering System
1. I first began my project by looking at posts by people who had created something
similar and ordering materials. I knew I wanted my planter box to be indoors and to
go on my windowsill, so that greatly constrained the size of the box.
2. Once I figured out the size of the box, I began to research what I could plant.
This introduced me into the very complicated world of gardening, involving root-depth, specific soil
moisture, and compatible plants. Since I had a size constraint, I began with herbs
that had the shortest root depth. Different sources said different measurements,
which led to lots of back and forth. Then, I decided I wanted herbs that I could
actually use, like lavender, which was immediately ruled out after I realized how
large it was. I debated planting multiple plants for a short amount of time after
I realized that I would then need two different pumps to accomodate their different
watering periods. Finally, I settled on chives, an herb that I could actually use,
with a short root depth, and peak planting season was in late summer.
3. My next step was to begin calibrating the sensor.
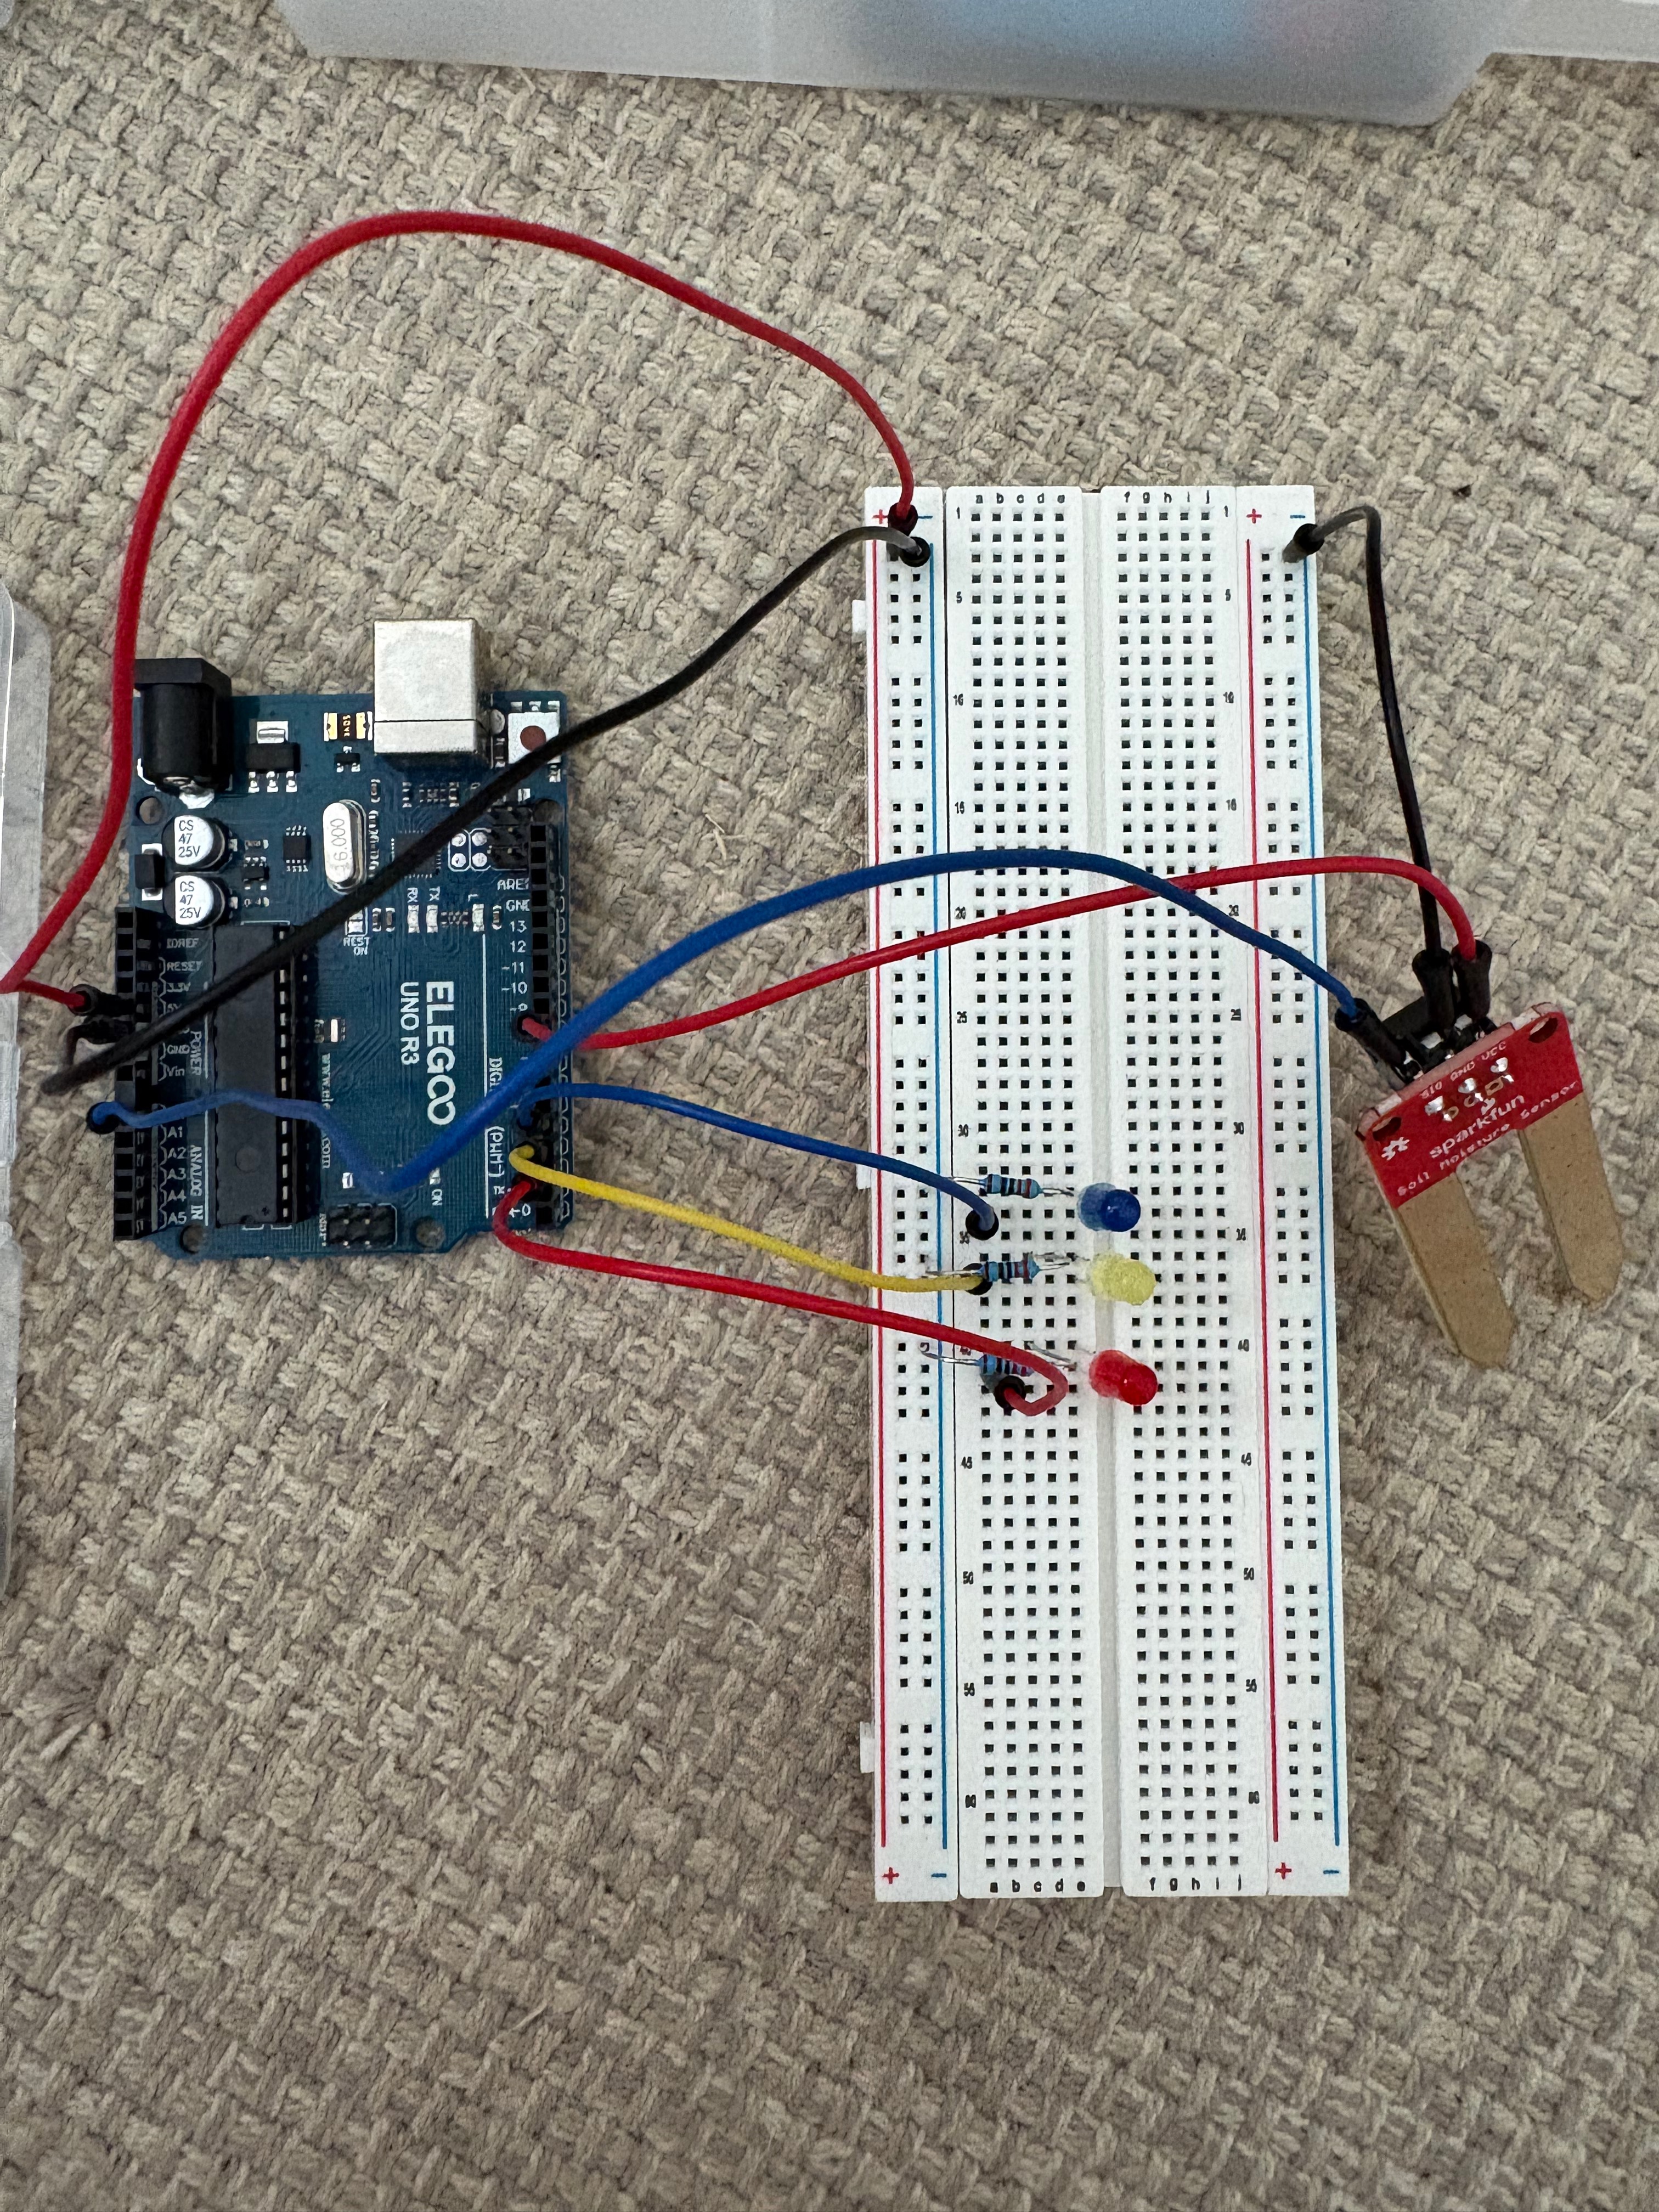
Here I have the sensor hooked up to the Arduino and 3 LEDs. When the sensor receives
a value considered "dry", the red LED will light up. When the sensor receives a value
considered "good", the yellow LED will light up. When the sensor receives a value
considered "wet", the blue LED will light up.
4. Since these were based on random ranges, I got some soil and began testing the
sensor.
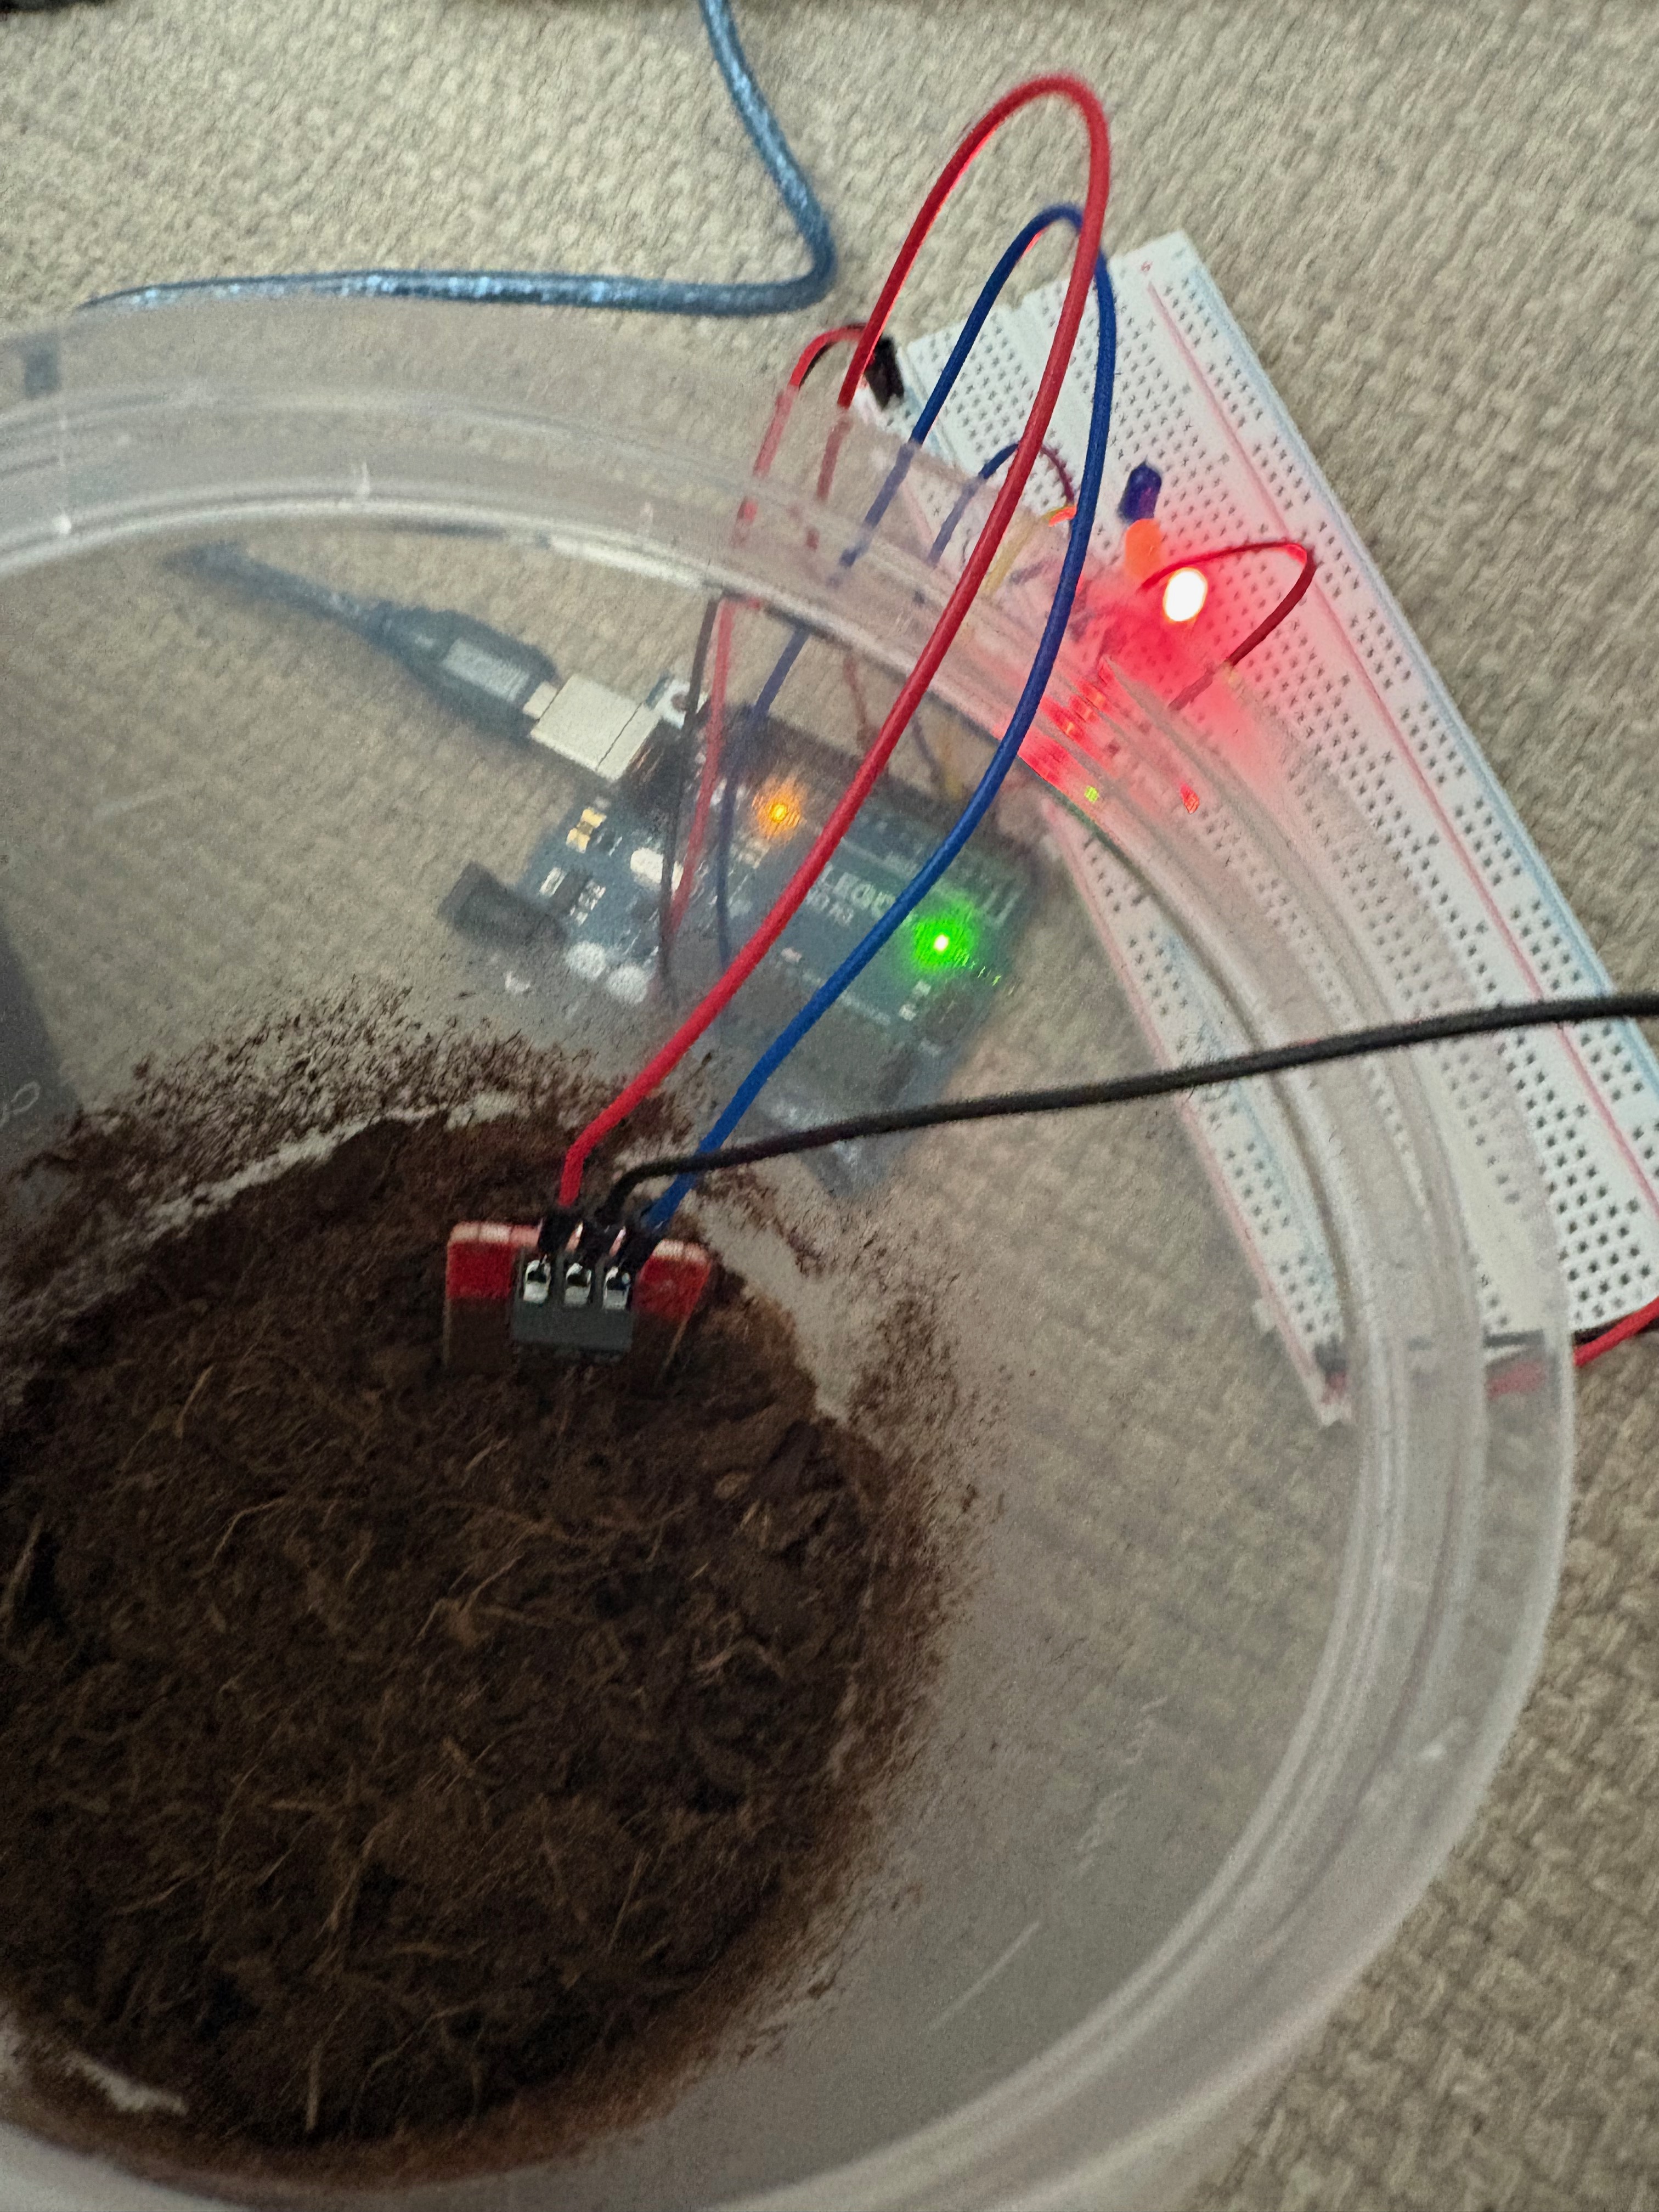
To obtain a "dry" reading, I left the soil outside for two days. Then, I watered
it and got a baseline for a "wet" reading. Once I had those two numbers, I was able
to get an estimate for the "good" value.
5. After this, I took a trip to a plant store near me to buy chive seeds.
6. After some research, I discovered that the best soil combination for indoor
chives is one part compost, one part pumice, and two parts indoor potting mix.
Thankfully, I had all three items in my shed!
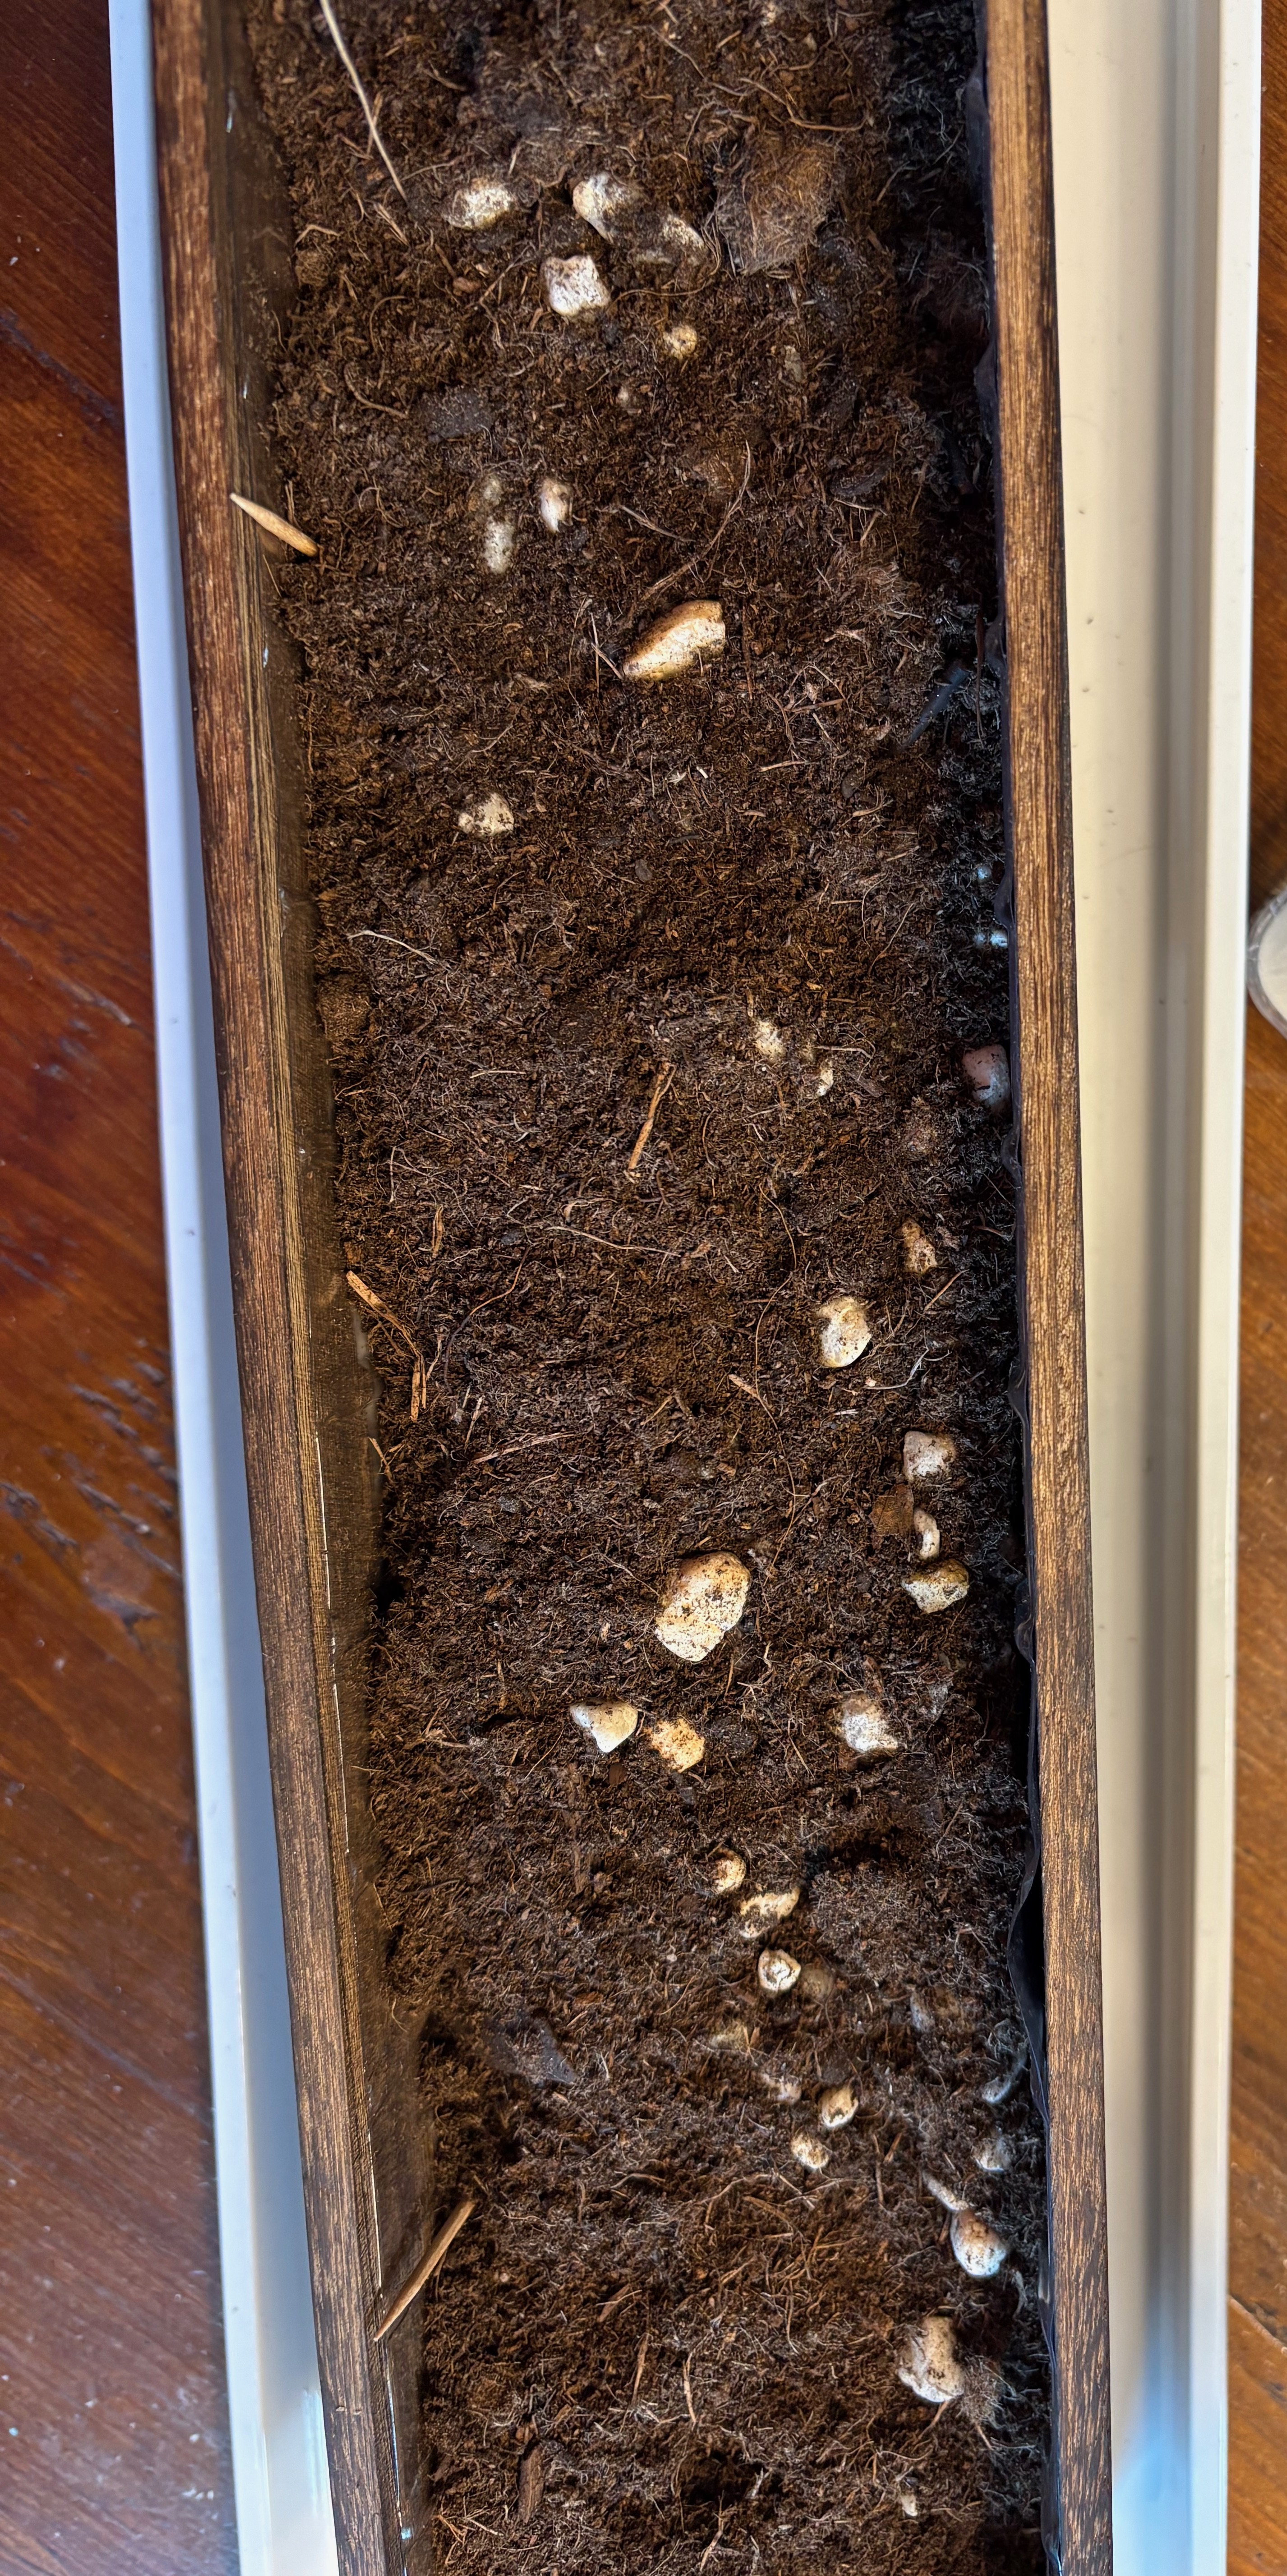
After I mixed the compost, pumice, and potting mix, I planted the chives in two groups, eight inches apart (marked by the two toothpicks).
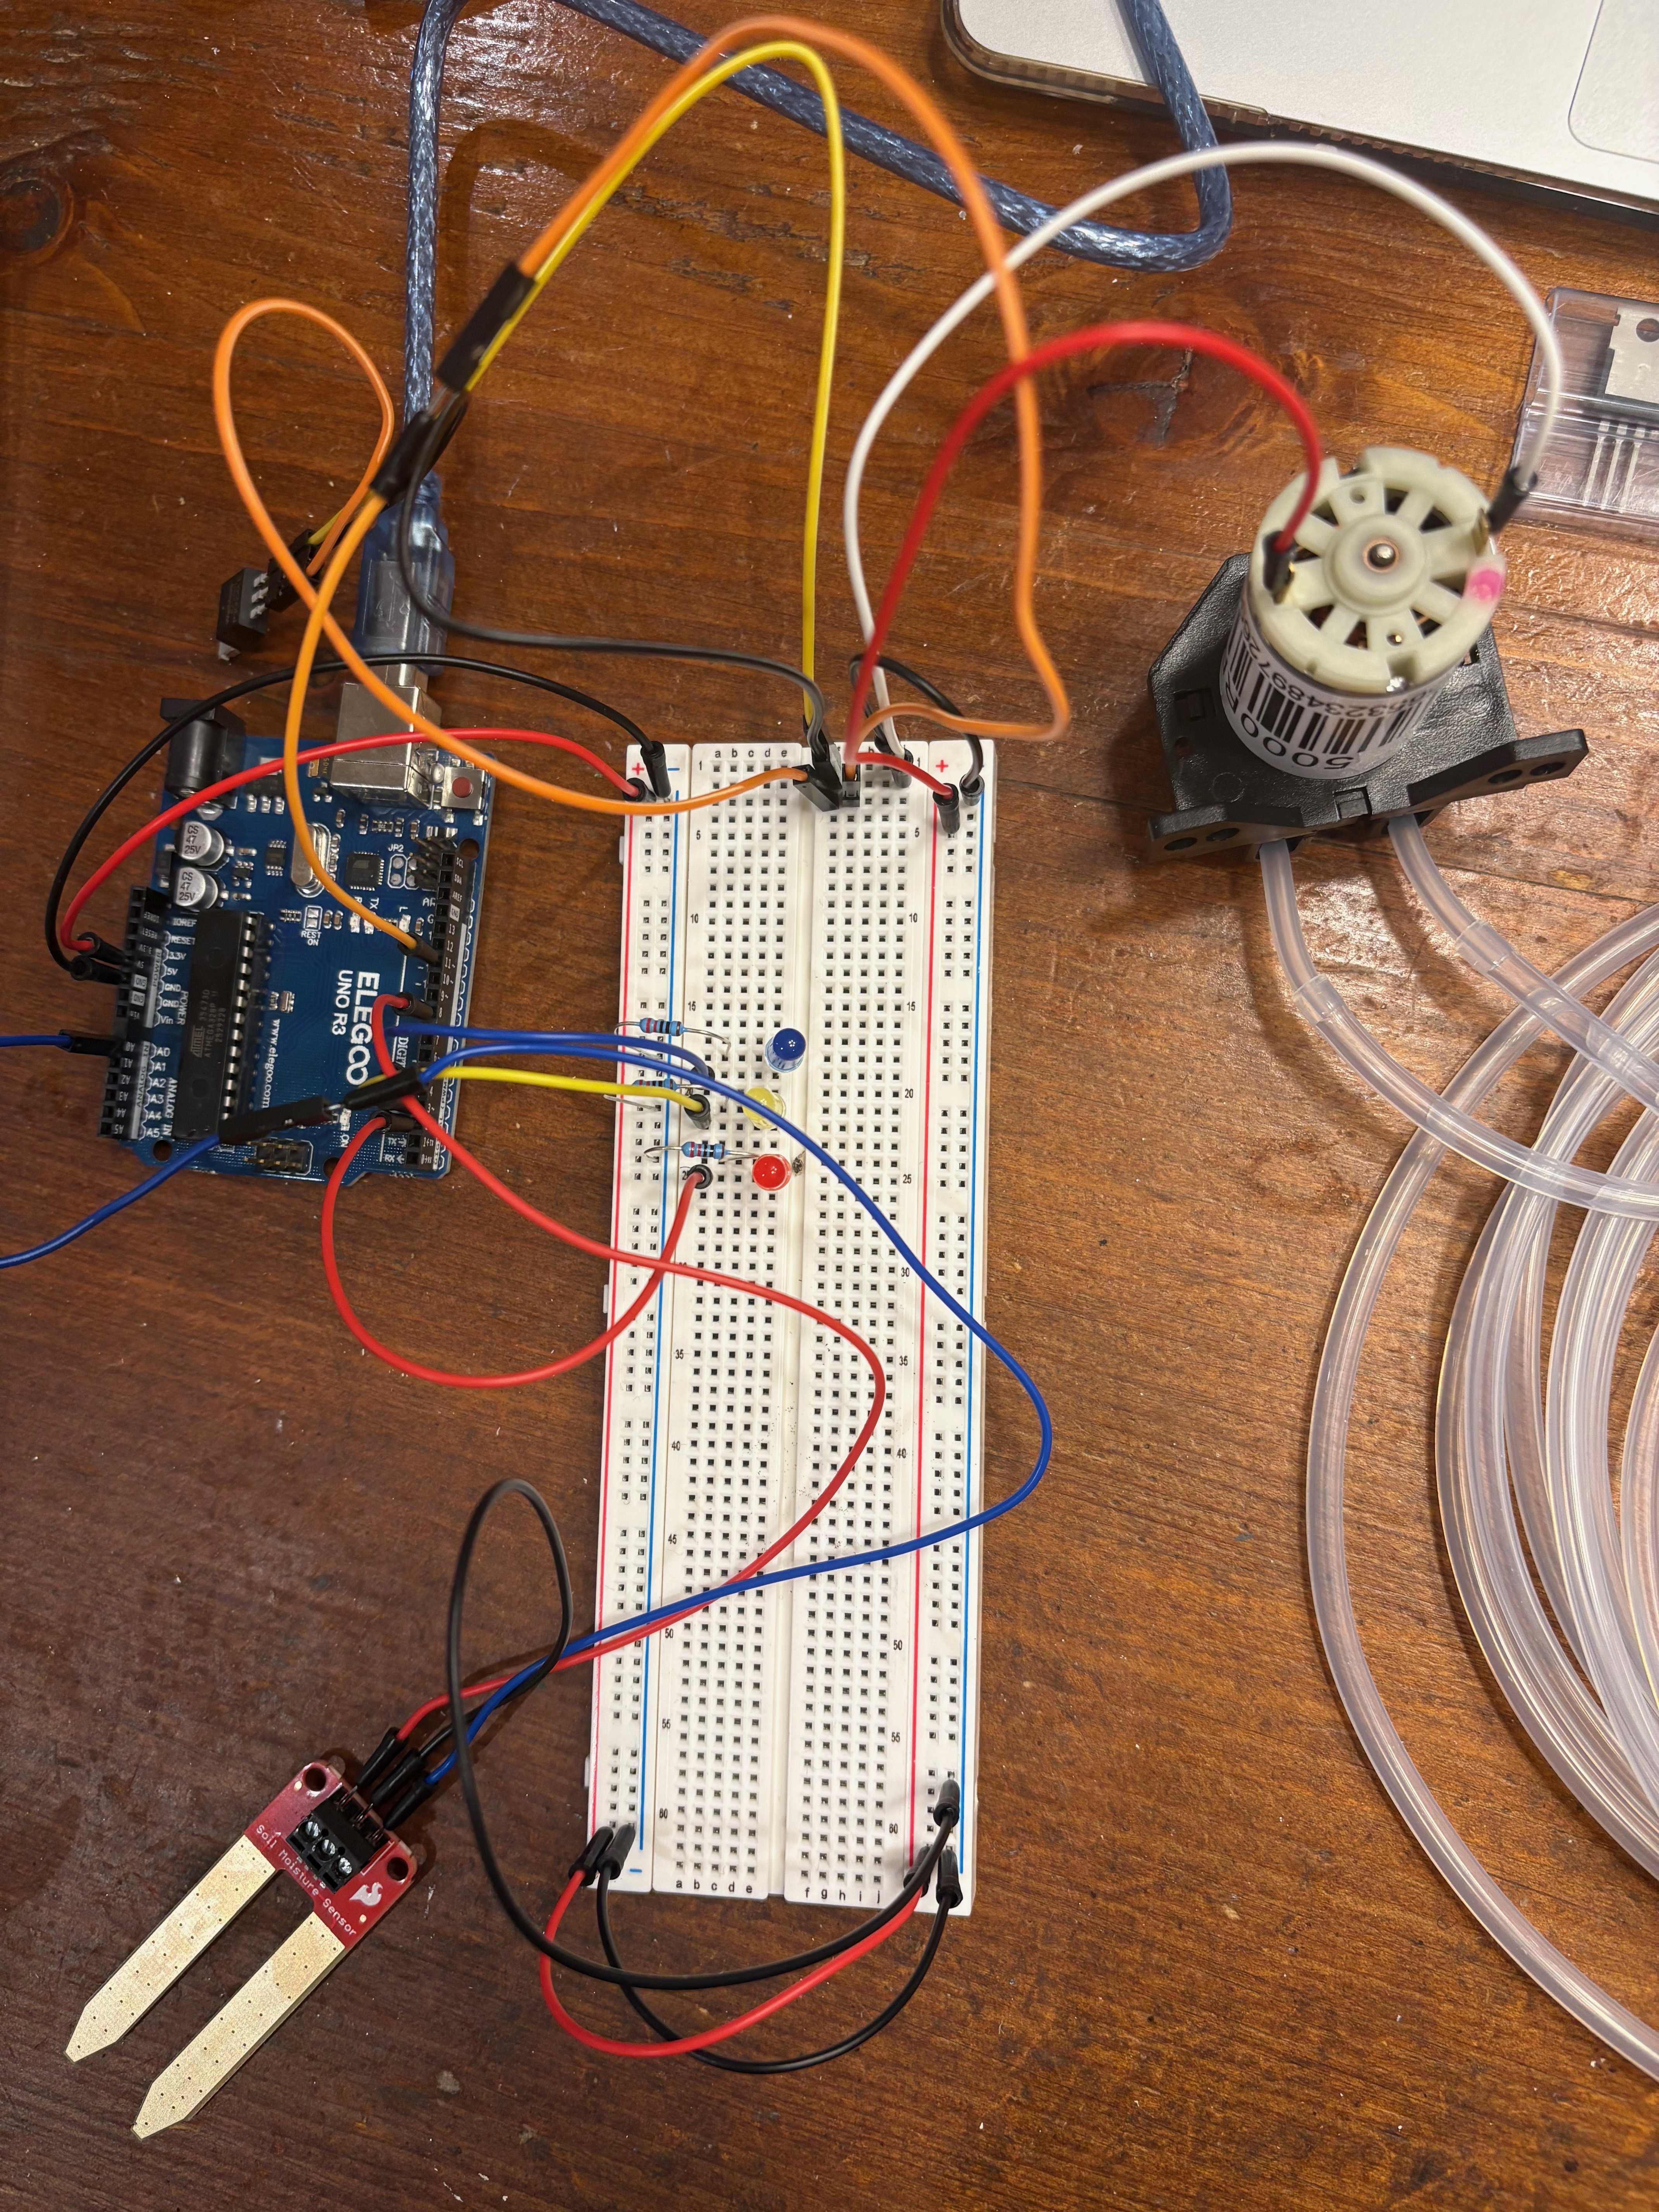
7. This leads us into my next step, which was hooking up the motor.
8. First watering! I cut holes into the pump hose to account for the spacing between the
two groups of chives. After this, I updated the coding to be more accurate, having
the sensor check the soil moisture once an hour and if "wet", watering for thirty
seconds.
This project was pretty straightforward. I came across a couple bumps along the
way, like the screws being loose on the sensor and no viable connection between
the jumper wires and the motor, requiring crimp connectors. The code also required
some tweaking to the timing.